
During a recent migration project, I worked with a customer who had a pretty unique requirement: they wanted to apply conditional mappings using ShareGate.
At first, I thought, “Wait, what?” Because what they were asking for just isn’t something ShareGate supports out of the box—neither through the UI nor the ShareGate PowerShell module. But after a bit of head-scratching (and lots of coffee ☕), I came up with a workaround to get the job done.
Before I get into the how, let’s back up a bit.
What Is Conditional Mapping?
If you’ve ever used ShareGate, you’ve probably worked with mapping configurations—where you can map metadata from the source to the destination. But what’s different about conditional mapping?
Conditional mapping means applying logic to the mapping process. In other words, you want to compare the value from a source column and based on a certain condition, modify it before it gets migrated to the destination.
Example: Imagine you’re migrating a list where the Status column sometimes contains the value
"Pending". During migration, you want to check for that and replace it with"Approved"only when that condition is met. That’s conditional mapping.
Sounds simple enough, right?
But Can ShareGate Do That?
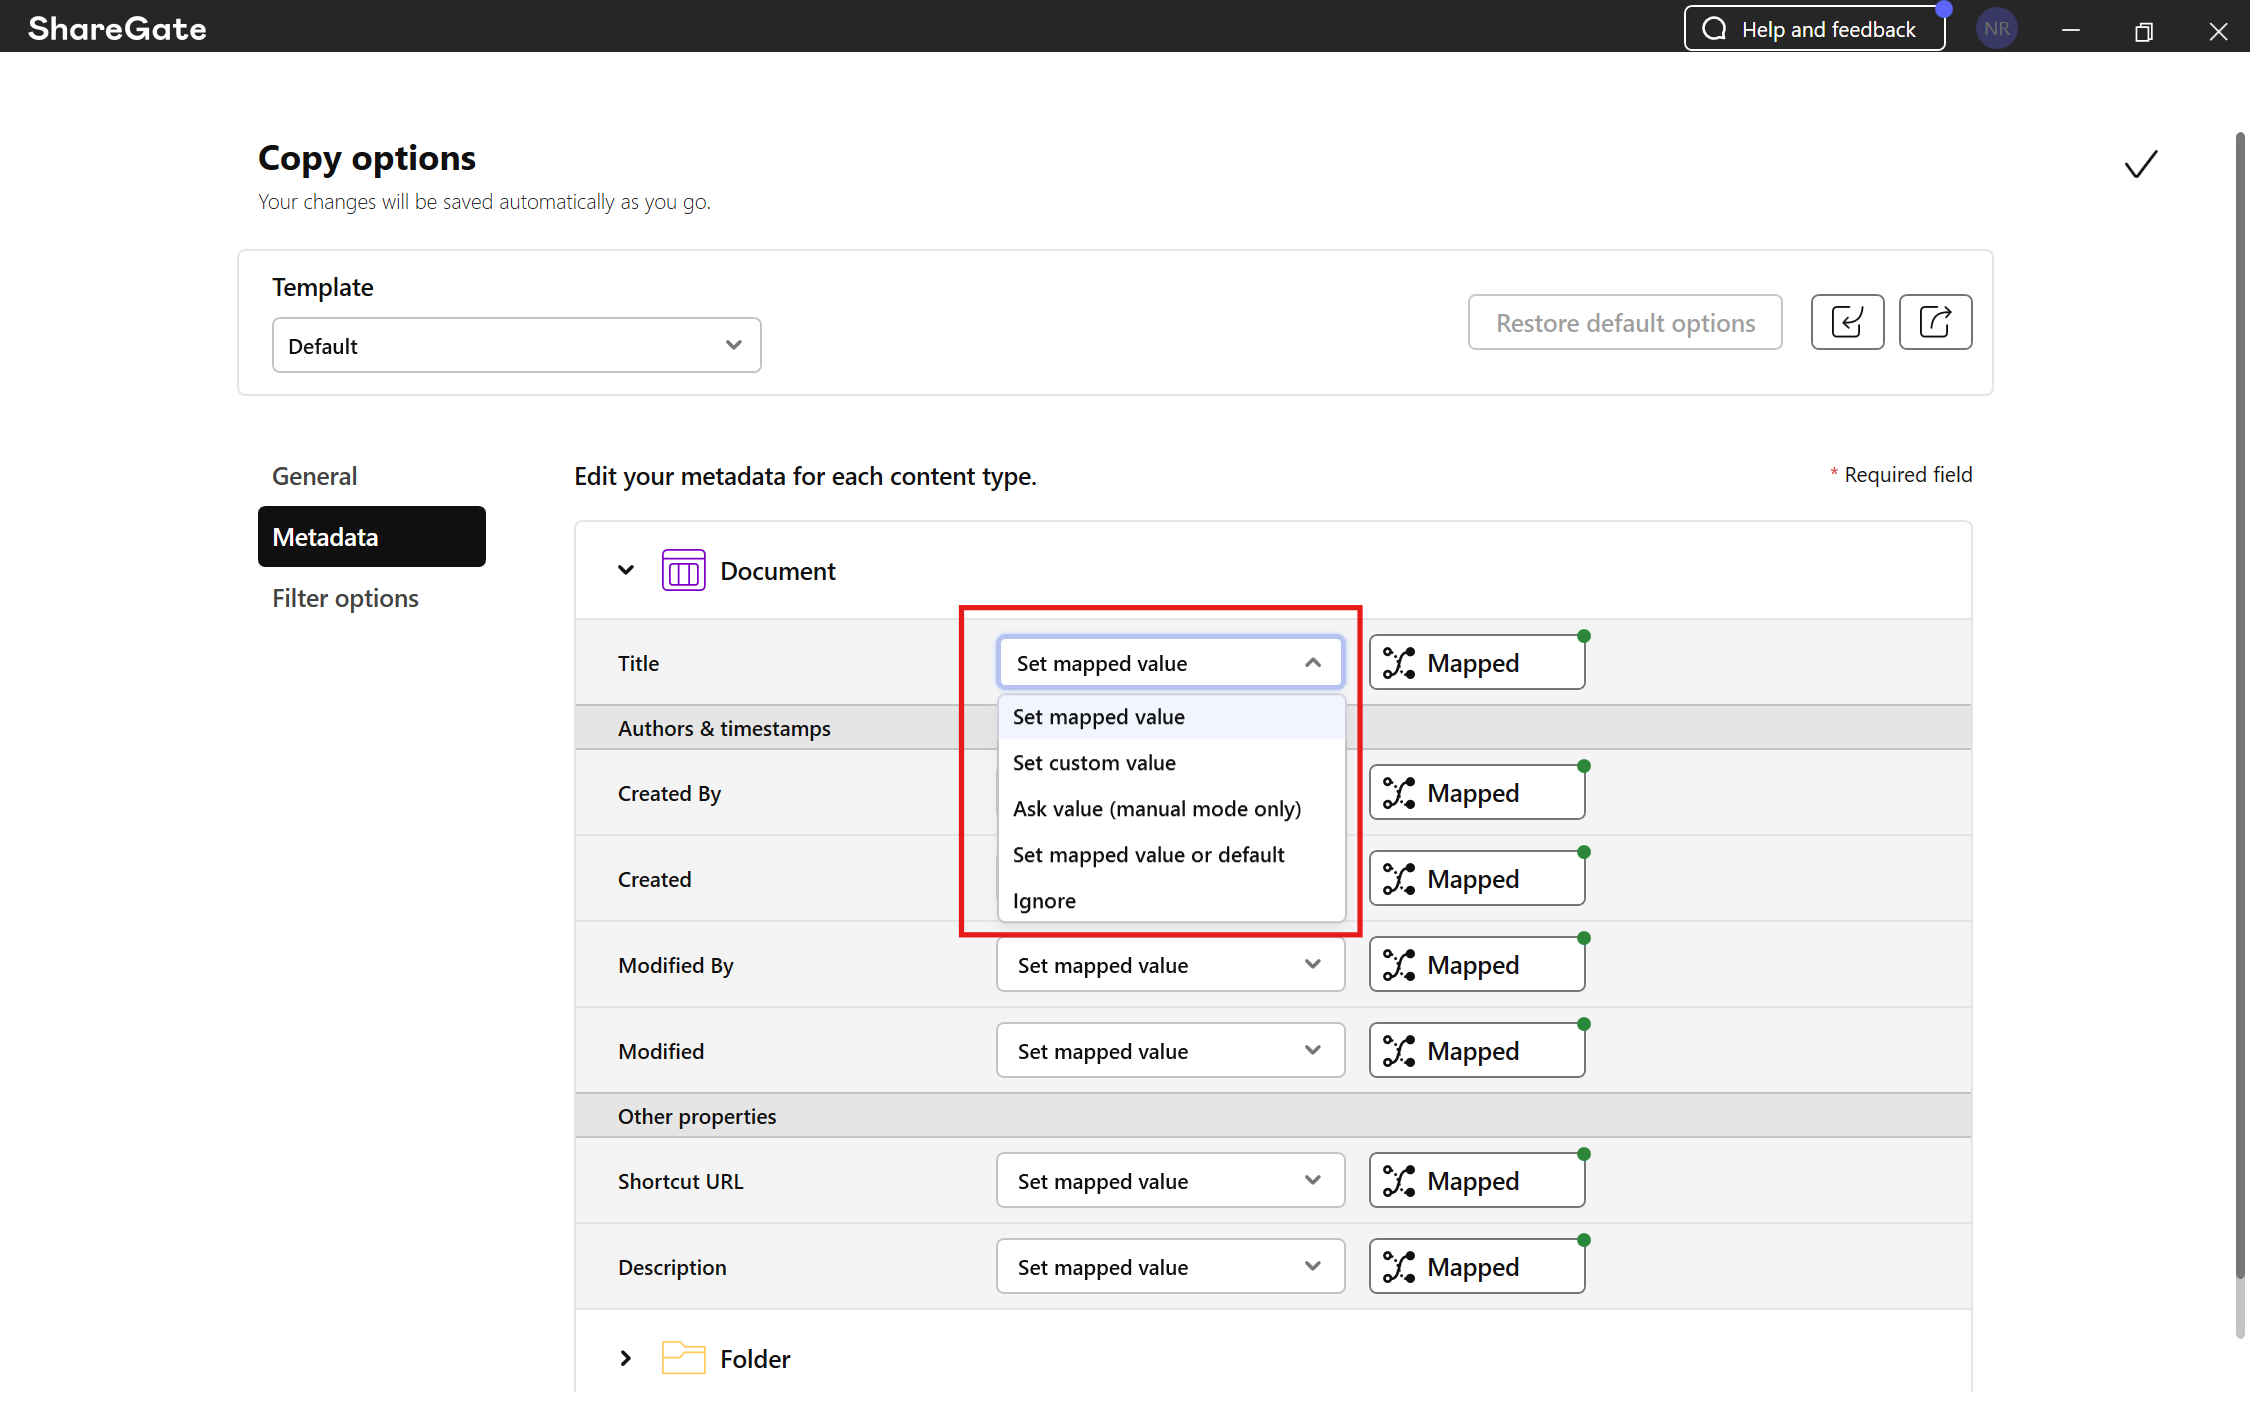
If you go into ShareGate’s UI and try to modify metadata mappings, here are the options you’ll find:
Set mapped value
Set a custom value
Ask Value (Manual mode only)
Set mapped value or default
Ignore
Nowhere in that list do you see an option like “If Title contains X, replace with Y.” So no, ShareGate doesn’t support conditional logic in metadata mappings.
What About Modifying the .sgt Template?
“Can I edit the ShareGate migration template (.sgt) file with PowerShell and add some conditions there?”
Good question. I tried that too—and unfortunately, it didn’t work. If you try to forcefully apply a modified template with custom conditions, ShareGate throws a template read error. So that door’s closed as well.
What’s the Workaround?
There are two practical ways to achieve conditional mapping:
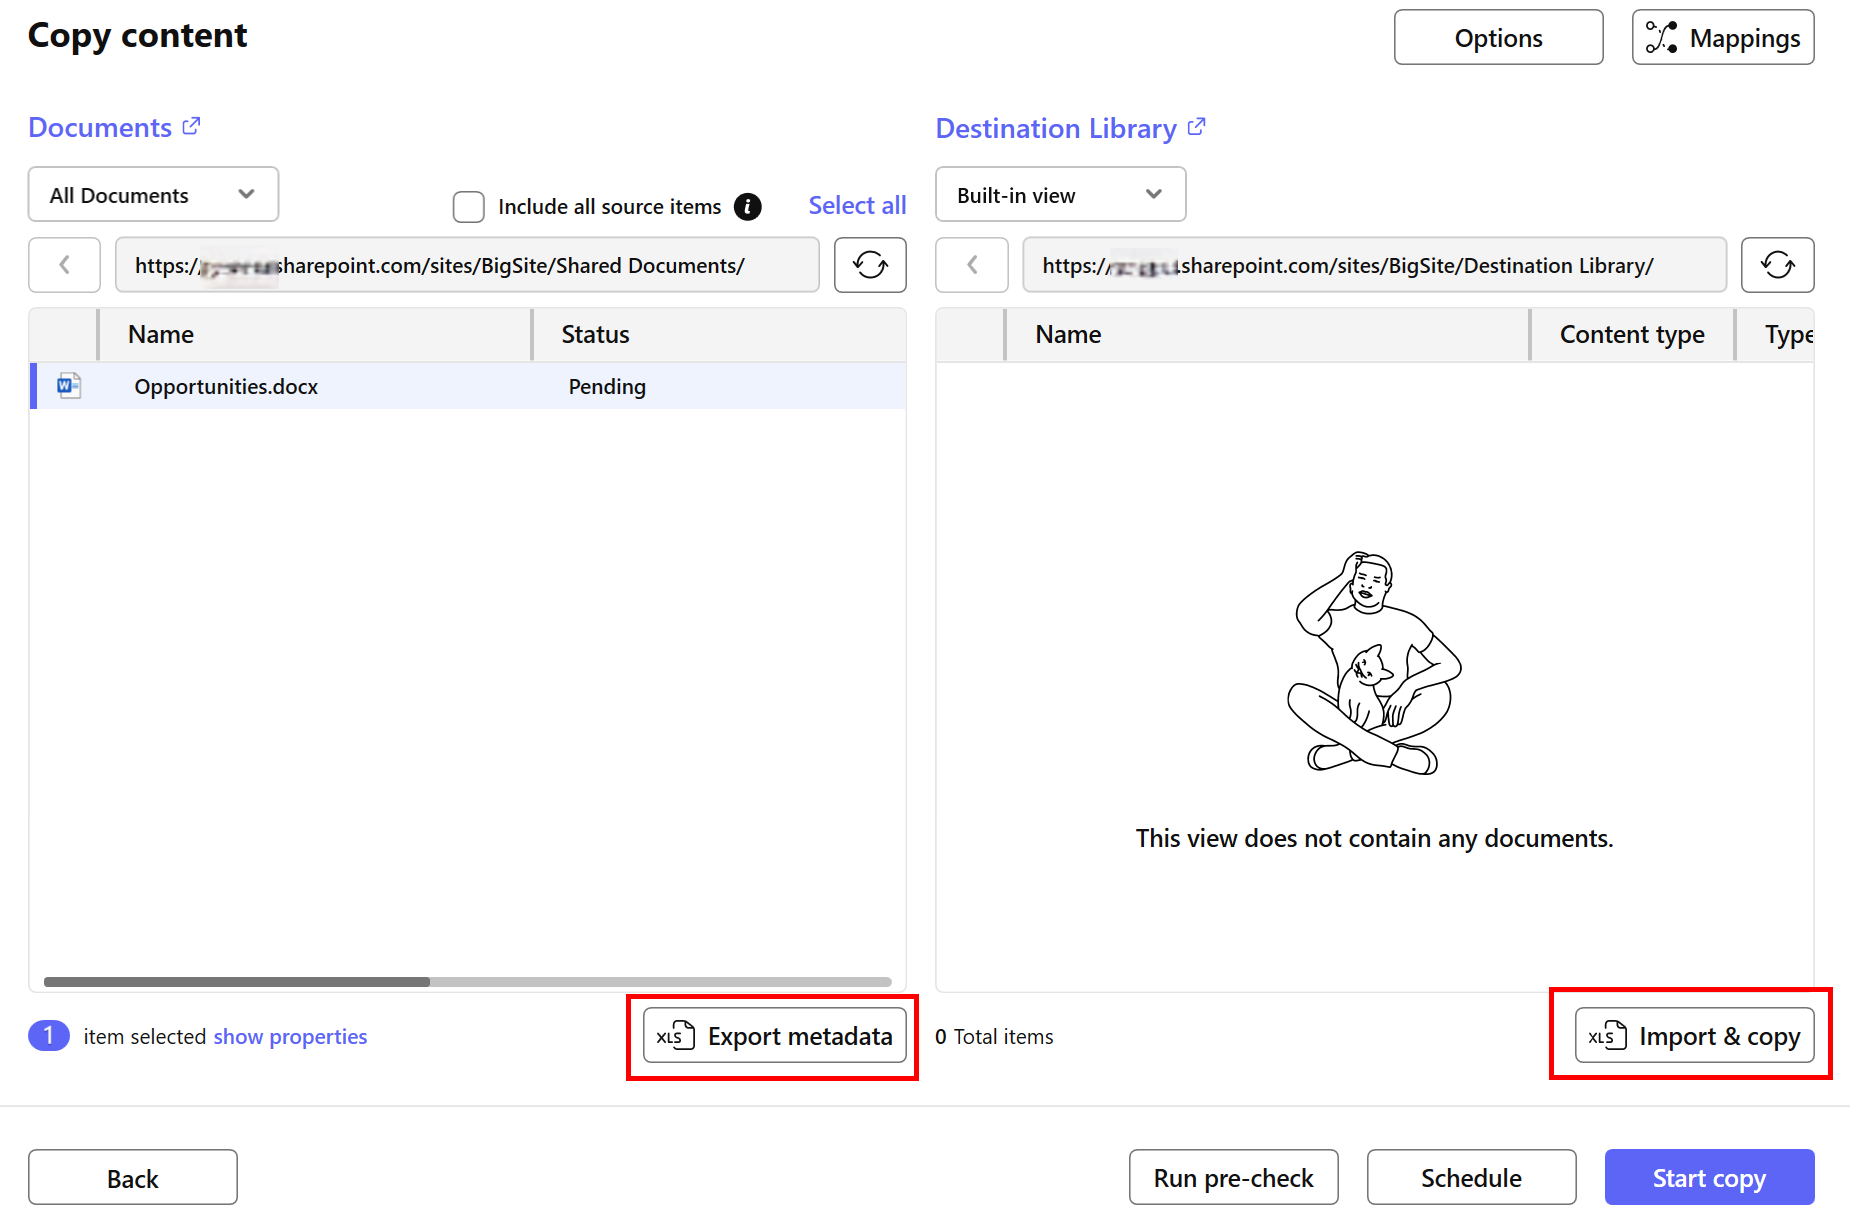
Option 1: Export & Modify Metadata
Export the source list metadata to an Excel file (screenshot below).
Manually update the data in Excel to reflect your desired changes.
Use Import & Copy in ShareGate to push that modified data to the destination.
This works fine if you’re only dealing with a few sites or lists. It gives you full control over the values that will be written. But let’s be honest, are you really going to do that for dozens of sites? Probably not. It’s time-consuming and error-prone at scale.
Option 2: Use PnP PowerShell After Migration
This is the smarter, scalable approach.
Migrate the content as-is using ShareGate. Then, use the PnP.PowerShell module to run a script that goes through the migrated items and applies your conditional logic.
For example, you can run a script that checks each item’s Status column, and if it contains “Pending”, it updates it to “Approved”. Simple, powerful, and works across sites.
Coming Up Next…
In my next blog post, I’ll walk you through how to write a PnP PowerShell script—and how to execute it directly from the ShareGate migration PowerShell terminal.
So if you’ve ever faced this limitation and wanted a way around it, stay tuned!